Showing posts with label DIY. Show all posts

Friday, December 20, 2013

Chocolate Coconut Sugar Scrub


In case you're wondering, you can eat this.

Not that I have tried it or anything.  I'm just saying...

I've begun an obsession as of late with bath scrubs.  I'm pretty sure it has to do with the weather being colder and other such things.  So imagine my surprise and excitement when I found this recipe to make my own sugar scrub.  I don't know if you know this, but those little pots of sugar, oil, and really nice scents can get pretty pricey.  Making my own would not only allow me to save a little money this holiday season, but I could also customize my scrub to my own liking.  I'm just winning all over the place.

Let's also think ahead and if you still need a holiday gift, you can make this, put it in a fancy package and boom!  You have solved your problem.  I did this myself this past weekend when my girlfriends and I had our annual Secret Santa gift exchange dinner.  That dinner was epic, as per usual.  Can we say "fried chicken and eggnog waffles" at Melba's in Harlem.  I'm still dying just thinking about that dish.  Trust me, you need it in your life.

I'm pretty sure you also need this scrub.  This scrub is a combination of chocolate and coconut and sugar.  Nothing can go wrong here.  Nothing.

Monday, December 24, 2012

Candy Cane Vodka


This year, a few friends of mine decided to set up a Secret Santa exchange.  We got really into it and it ended up being more than awesome.  As I was deciding which gifts to give, Tracy from Shutterbean got all up in my face.  You know what she did?  She showed me how to make Candy Cane Vodka.  I was beside myself.

I'm not typically a fan of vodka.  Did you know that?  Probably not.  But I do make certain exceptions.  The first is for Strawberry Infused Vodka.  The second is for this Candy Cane Vodka.  I love the way it looks so pink and pretty.  It also tastes amazingly peppermint-y.  And it's hella strong.  Yeah, I said "hella".

Anywaysssss, I got super excited about this.  I knew I had to make this goodness for my Secret Santa and also the other ladies in the exchange.  Because why not share all this wealth?  I picked up some containers from Michael's (which, by the way, is the death trap for all things Christmas-y) and got to work.

Wednesday, August 29, 2012

How To Roast Beets


Beets happen to be one of those things I sort of associate with an aluminum can (or in more recent years, a glass container).  Make no mistake.  I have no problem chomping down on those beets.  I have always been a fan of these lovely root vegetables.

However, I recently began wondering if I could roast my own beets.  I have no idea where this urge came from.  It's just one of those things I can't explain.  There are a lot of things I can't explain about myself, but let's not go there.

Let's talk about beets.  Roasted beets, specifically.  Roasted beets are tender and slightly smoky, yet slightly sweet.  They're one of my new go-to vegetables.  You can do a lot with them.  More on that topic coming in a future blog post...

This "recipe" is more of a guideline.  Before I woke up one day and decided to roast my own beets, I didn't realize how easy it would be.  I found out that the most difficult part was trying to get the red beet stain off my fingers.  After the first beet, I got wise and donned the latex gloves that I keep around to chop jalapenos.  This is a wise move, my friends.

I was able to find both red and golden beets at my local farmers market, so I snagged those and got to work on roasting them up!  Another smart move is to take those beet greens and saute them with some garlic and red wine vinegar.  Go on with your bad self.


Saturday, June 30, 2012

Balsamic Caramelized Onions


I've recently been introduced to the concept of "sprouted bread".  Did you know about this?  It's supposed to be good for you.  I'm into that.  I'm also into it being stored in the freezer.  Since I travel so much, I desperately need the freezer to store food so things won't spoil quickly.  I know, I know. I understand that this is not a new concept and you can pretty much freeze any type of bread you like. Don't rain on my parade.

Since this sprouted bread and I have been hanging out more often, I've become completely re-interested in grilled cheese. Grilled cheese with onions have been calling my name. Since I will eventually make French Onion Soup, but it's now summer and a hot soup may be out of the question, I will have to satisfy myself with a version of this grilled cheese. But wait! I need to caramelize some onions first. Let's make that happen so my grilled cheese dreams can become a reality.

Saturday, June 23, 2012

Popcorn in a Brown Paper Bag


Did I ever tell you about that time those lovely people at Patron sent me a care package? Yes indeed, they did.  Unfortunately, there was no alcohol involved in this gift.  What the heck, right?  Oh well.  I did receive the following:
  • 2 Tequila Patron champagne glasses (This pretty much elevates me to Baller status.)
  • Tangerine Rimming Sugar
  • Gingerbread cookie mix
  • Gingerbread house cookie cutter set
  • Mulling spices
  • Popcorn kernels
  • Caramel popcorn seasoning
  • Woven wood salad bowl

Sunday, May 20, 2012

Candied Pecans


A few weeks ago, my friends and I were having a post-gym Whole Foods tryst.  Yes, we go to Whole Foods after the gym.  At 9:30pm. Whatever.  One of my friends found something that I'm calling the "Nut Bar". No snickering.  This is serious talk here.  The Nut Bar at Whole Foods is sort of like a candy bar.  A variety of nuts are displayed in a case and you can choose which one(s) you want, or you can mix-and-match.  Whatever you desire.

This find immediately kicked our killer taste testing skills into high gear.  Resoundingly, our favorite type of nut was a pumpkin spiced pecan.  This was honestly the best candied pecan I had ever tasted.  I could have eaten a pound of this stuff, which was why I didn't buy any.  Know thyself.

However, the universe seems to realize that I can only hold out so long.  Recently, I woke up to a post by JTB (aka Joy The Baker) in which she blogged about a candied pecan biscotti she had recently made.  Though I won't turn it down, I'm not a huge fan of biscotti.  What really caught my eye was the mention of candied pecans.  Do you mean I can make my own candied pecans at home?  Oh yes.  I had hit the jackpot.

I found a bag of pecans in the cupboard.  They may have been living in the cupboard for quite a while.  I don't want to talk about it.  Let's get down to business.

Tuesday, January 31, 2012

Microwave Sea Salted Caramels


My mind has been completely blown.

First, I found out about sea salted caramels.  I bought some and they ended up being pure amazing-ness in each bite.  Wow.  And now you're telling me that I can make these in a microwave?!?! Don't tease.

Here are the main reasons you don't see many candy- or caramel-related recipes on my blog:
1) I don't own a candy thermometer so I'm pretty much guessing how things are going when I'm standing over a pile of burning sugar.  I do not suggest this approach.
2) I'm terrified of completely burning my face off (or any body part, really).  See Reason #1.

But with this recipe, I thought I might actually have a chance at pulling it off.  I decided to take one for the team, so to speak, and check out if this microwave-caramel-making claim is truly possible.  And it is!  It was so simple and easy that I almost couldn't believe it, even though the caramel was staring me in the face.  Don't worry, I took several sample bites to make sure it was real.  You know you should always taste test before providing treats, right?

Monday, December 26, 2011

How To De-Seed A Pomegranate


Did you know that it's pomegranate season?  Why yes, it is.

I've always loved pomegranates, but this year I really got a hankering to nosh on those tart little addictive seeds (a.k.a. arils).

Did you know that you can purchase these tiny arils in convenient packages in select grocery stores?

Did you also know that they will cost you an arm and a leg?

Yeah.  About that...


Saturday, September 3, 2011

Strawberry Infused Vodka


I've got a new obsession.  Let's be clear.  I have a new obsession every few weeks, but this one is cracking me up.  It's called a podcast.  And they're funny, people.  Hilarious.

Let me stop here for a minute.  I know that many of you are already familiar with such things as a podcast.  But if you don't know, I'll explain.  A podcast is similar to a radio broadcast.  It's just broadcast across the internet instead of across the airwaves.  Just as with regular radio shows, these podcasts have themes and regular hosts.  They don't have to be funny, but why would you listed to a podcast if it wasn't entertaining?

My favorite podcast these days is hosted by Joy The Baker.  And even though it's called the Joy The Baker podcast, Joy is actually having a discussion with Tracy from the Shutterbean blog.  They talk about everything that you care about, everything that you don't care about, and sometimes they even talk about food.  They have the most hilarious commentary ever and it's totally worth listening to every week.

What does this have to do with infusing vodka? I'll tell you.  In one of these podcasts, Tracy mentioned that she likes to infuse strawberries into vodka.  I'm not mad at her. I love this idea and ran out to purchase mason jars to do the exact same thing myself.

Strawberry Infused Vodka
recipe from the Shutterbean blog

  • 1lb strawberries, hulled and chopped roughly
  • 750mL vodka (I used Skyy but any kind is fine)

1) Fill a mason jar or other sealable container with the strawberries.

2) Add the vodka almost to the top of the container.

3) Seal the container and store in a cool, dark place for 7 days.

4) Agitate the container daily.  (Try to do it twice each day, but if you forget it's fine.) DO NOT open the container before the 7 days are up.


5) When the vodka is ready, use a sieve to separate the strawberries from the liquid.  You can also choose to strain using a coffee filter if you don't want to have small dregs of strawberry seeds in your vodka.  (I didn't care so I just strained the vodka once using a sieve.)

6) Store the vodka in the refrigerator so that it's well chilled.


There are so many things you can do with this vodka.  Some of my personal faves include adding the vodka to cupcake frostings, drinking it chilled by itself, and including it in a mixed drink.  My favorite strawberry-infused vodka mixed drink?  A Strawberry G&T.  Yeah, get that strawberry gin and tonic.  I like my drink with a splash of lemon juice as well to make it a little tart.  And if I'm being super creative (also known as a super lush), I also add in a splash of tequila.  Do you see where this is going? So versatile. Love it.

Now get your drink on.

Wednesday, April 6, 2011

Roasted Tomatoes: Two Ways

Can you feel it getting warmer? Yep, it's almost summertime!

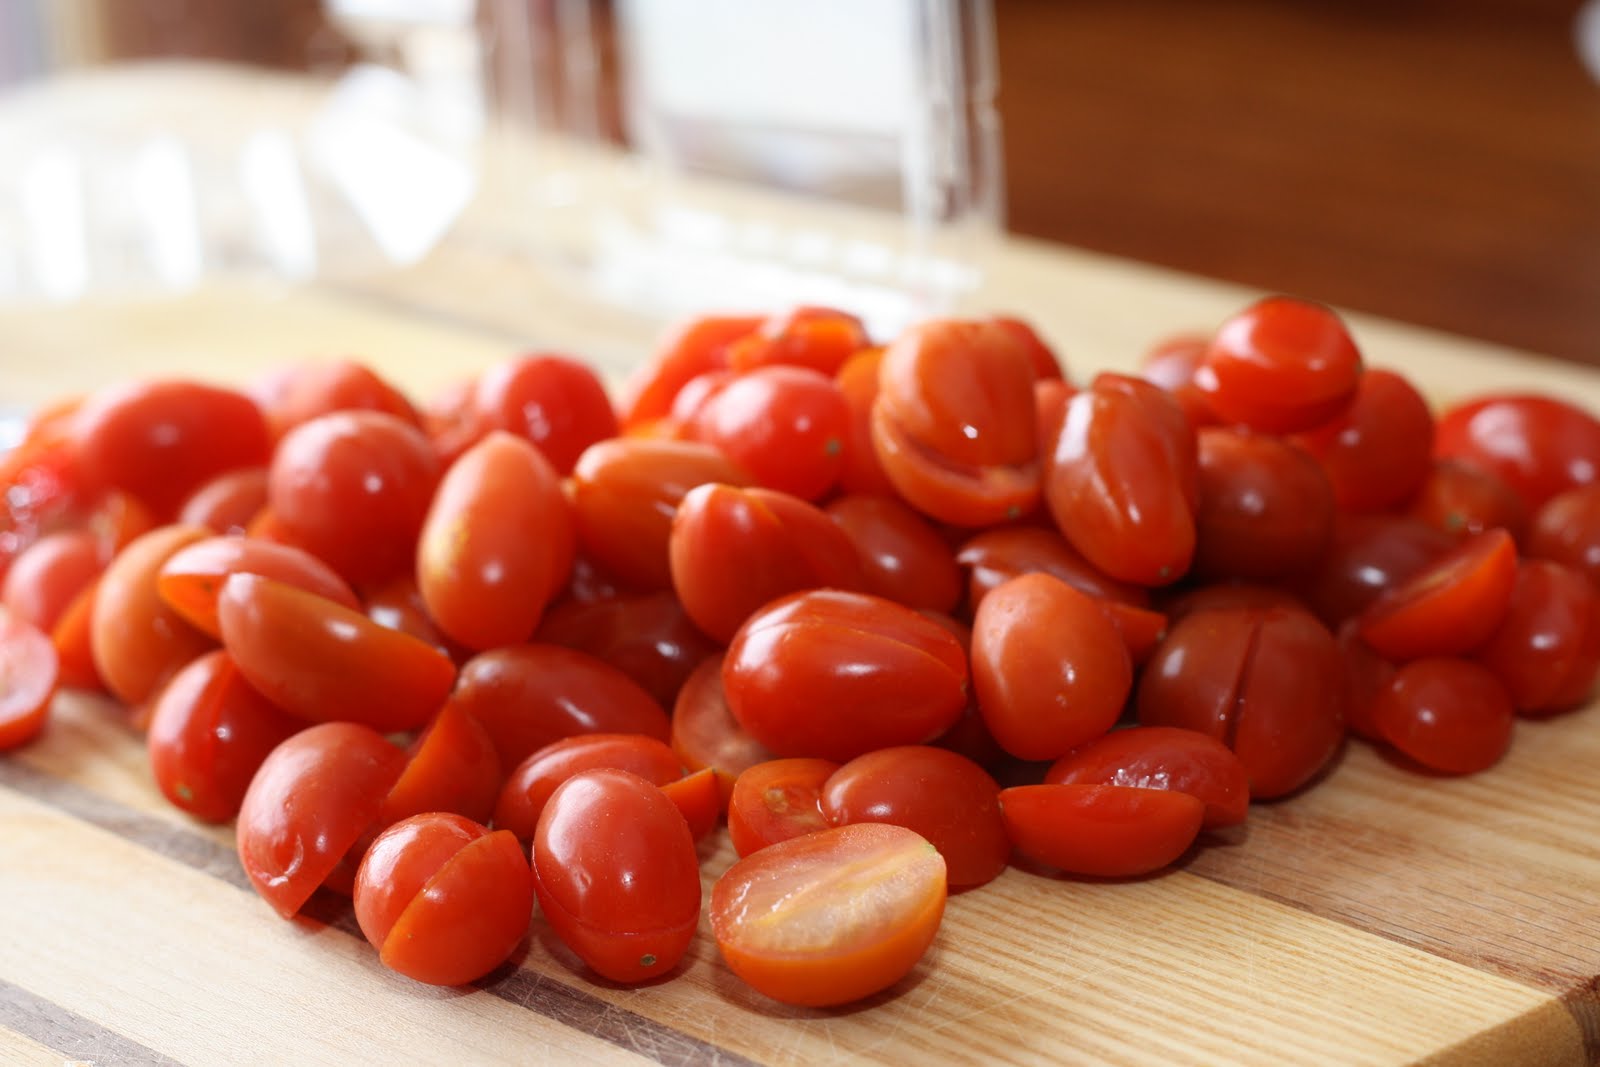
In preparation for the summer and my long-awaited return to the Union Square Green Market, I picked up some grape tomatoes for some pre-summer roasting in the kitchen. Because I could.

The inspiration for this snack is the roasted tomatoes in the salad that comes with the Warm Goat Cheese and Caramelized Onion Tart at Balthazar Restaurant in NYC. Are you still with me after that explanation?

I wasn't exactly sure how to roast tomatoes since I'd never done it before, but really, how hard could it be?

Apparently there are two ways you can do this. The slow-roasted way, or the quick and dirty way. (There's no real methodology called "quick and dirty", but you get the idea.)

Since I wasn't sure which roasting method I would prefer, I picked up two pints of grape tomatoes and resolved to try both roasting methodologies.

Print Recipes

Slow-Roasted Tomatoes
slightly adapted from Smitten Kitchen's Slow-Roasted Tomatoes
  • 1 pint grape tomatoes, halved lengthwise
  • olive oil
  • salt and pepper, to taste
1) Preheat oven to 225 degrees F.

2) Line a baking sheet with parchment paper and place the tomato halves on the sheet.

3) Drizzle with a thin layer of olive oil. You can also toss the tomatoes lightly in the olive oil if desired.

4) Sprinkle salt and pepper over the tomatoes.

5) Roast the tomatoes for 1 1/2 hours to 2 hours. (If you choose to use larger tomatoes, you will probably need to keep them in the oven longer.) The tomatoes will be shriveled when they are done, but you don't want them to be too dry and rubbery.

6) Eat right away or let cool and store in an airtight container in the refrigerator.


"Quick and Dirty" Oven Roasted Tomatoes
slightly adapted from marthastewart.com
  • 1 pint grape tomatoes, halved lengthwise
  • olive oil
  • salt and pepper, to taste
1) Preheat oven to 450 degrees F.

2) Line a baking sheet with parchment paper and place the tomato halves on the sheet.

3) Drizzle with a thin layer of olive oil. You can also toss the tomatoes lightly in the olive oil if desired.

4) Sprinkle salt and pepper over the tomatoes.

5) Roast the tomatoes for about 15 minutes or until they begin to brown on the bottom. (If you choose to use larger tomatoes, you will probably need to keep them in the oven longer.)

6) Eat right away or let cool and store in an airtight container in the refrigerator.


Tip1: You can add herbs to the tomatoes before they go in the oven as well. I've really gotten into rosemary lately, but I chose to go au natural with these tomatoes.

Tip2: I like to roast the tomatoes cut-side up so the juices will marinate in the cup while the tomatoes are roasting. But you can roast them any way you prefer.


And here are the results -- The slow roasted tomatoes were firmer and chewier. They reminded me of the texture of dried cranberries. On the other hand, the quick and dirty tomatoes were softer and juicier. They were closer to actual tomatoes than the slow roasted version.

So which one did I like better? I prefer the Slow Roasted Tomatoes. Primarily because they're chewier and I like that texture. They were also pretty close to the roasted tomatoes I had at Balthazar. Win!

Sunday, March 20, 2011

Tomatillo Salsa

This is one of my favorite. salsas. ever.

Not only is it green (I like the color green), but it's also tangy and spicy and perfect over a piece of grilled chicken or eaten on it's own with a tortilla chip.

I was first introduced to this little gem when I visited my friend, Matt, in Austin, TX a while ago. He pulled out a batch of this stuff and I knew I needed the recipe.

Except that he doesn't really use recipes. But he was able to give me some guidelines and recommendations so I could run with it. Here ya go!


Tomatillo Salsa
from my friend Matt

Print Recipe

  • ~12 tomatillos, chopped
  • ~10 jalapenos, chopped*
  • ~4 cloves garlic, chopped
  • dash salt and pepper, to taste
  • 1 bunch fresh cilantro
  • 1/3 cup vinegar
1) Add all items into a blender until creamy.**

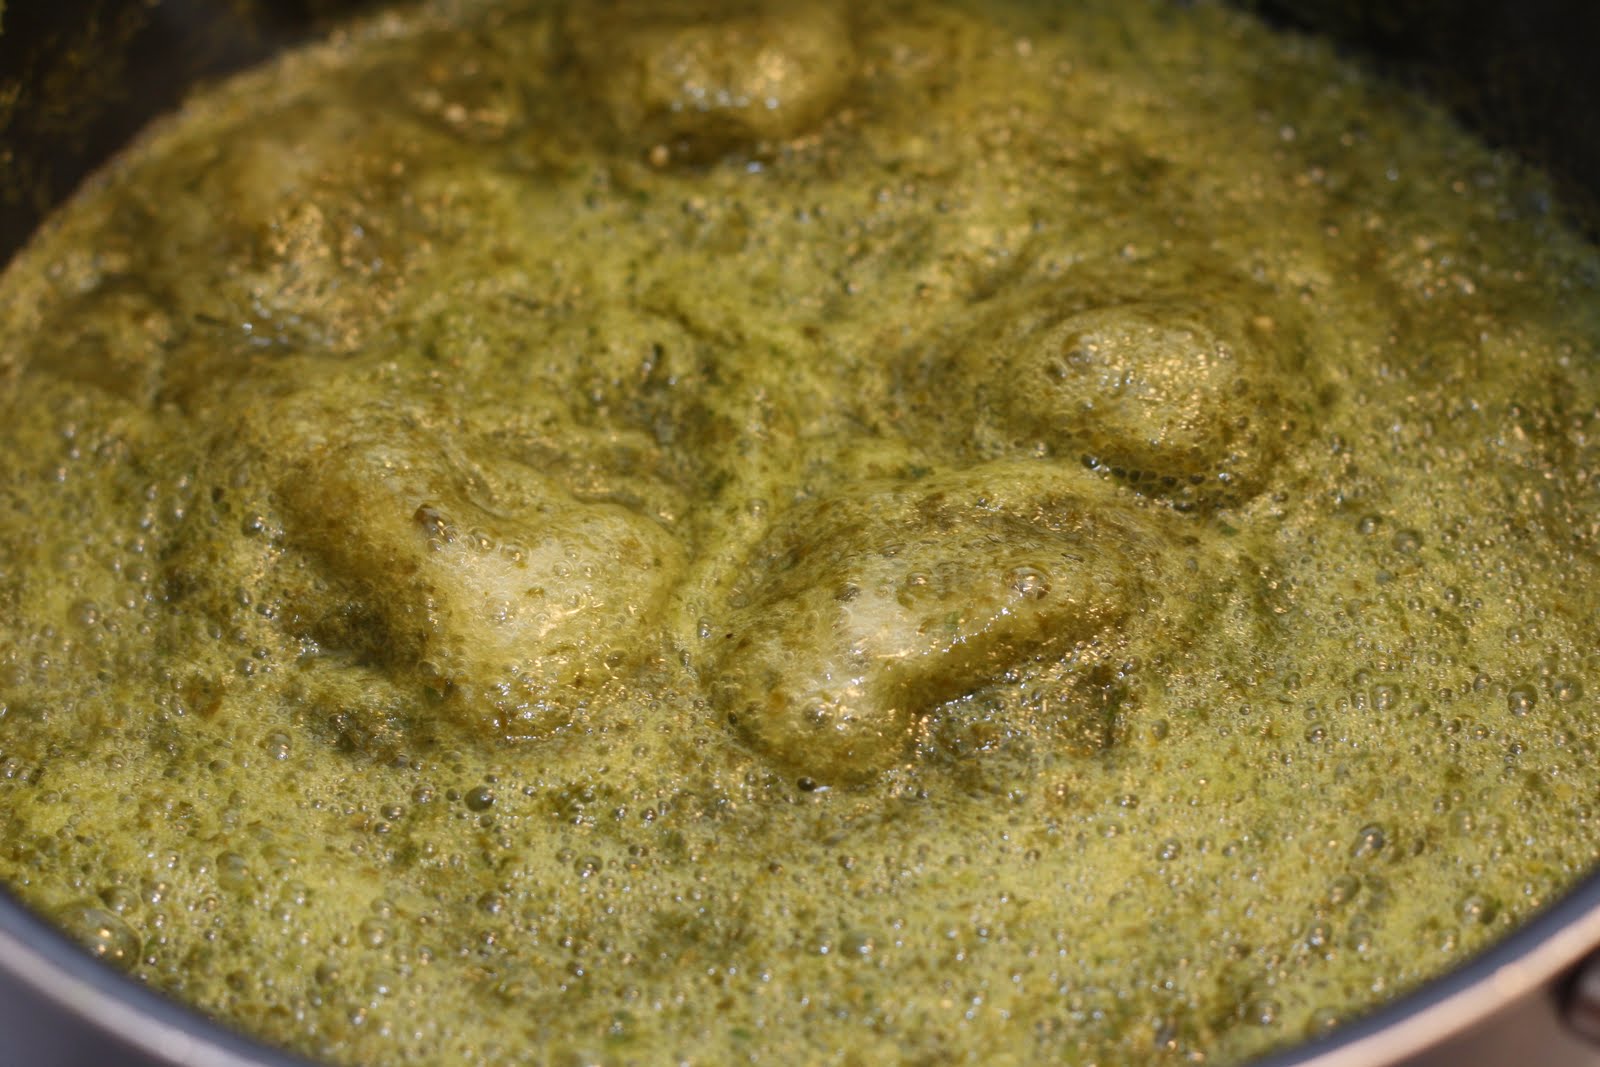
2) Pour the salsa into a saucepan and simmer over medium heat for 20 minutes.


3) Let the salsa cool, then use as desired!


*You can add more or less, depending on how spicy you like it. I'd probably start out with ~6 jalapenos if you're not sure. Don't worry. The heat really mellows out when you simmer the salsa.


** The blender chose this precise moment to crap out on me. Thus I ended up using my immersion blender to make this salsa happen. Still worked out perfectly!

I've heard of variations in which roasted tomatillos have been used for the salsa. I haven't tried this yet because it will increase the time it takes for this salsa to get into my mouth. But you let me know how it tastes if you do roast those tomatillos.

I've got the perfect plan for this salsa...Stay tuned!

Sunday, September 27, 2009

Basil Pesto

In case you haven't figured it out yet, I'm a huge fan of basil. Give me basil any day of the week and I'm a happy camper. (If you really want to make me happy, throw a little cheese into the mix.)


This led to my discovery that I really needed some pesto in my life. After all, think of all the uses for basil pesto:

- Toss it with some pasta
- Use it as a topping for meats or vegetables
- Spread it on bruschetta
- Add it to a grilled cheese (or any sandwich)

I'm sure there are additional ways to use basil pesto that I don't even know about yet! The possibilities are endless...


Basil Pesto
slightly adapted from The Food Network
yields~ 2/3 cup

  • 2 cups loosely packed basil leaves, washed and dried thoroughly
  • 2 tablespoons (toasted) pine nuts
  • 1/2 cup freshly grated Parmesan
  • 1/4 teaspoon minced garlic
  • 1/2 teaspoon kosher salt
  • 1/4 cup plus 1 tablespoon extra-virgin olive oil
  • Freshly ground black pepper to taste
1) In a food processor, combine the basil, pine nuts, Parmesan, garlic, and salt and puree.

2) Add the oil in increments to the chopped ingredients until incorporated. (The original recipe calls for drizzling in the oil while the food processor motor is running, but the food processor I used doesn't have that feature.)

3) Season with pepper to taste. Use immediately or store in the refrigerator with a piece of plastic wrap placed right on the surface of the pesto to prevent discoloration, for up to 3 days, or freeze for up to 1 month.


Since I enjoy cheese so much, I increased the amount I used in this recipe. I was also feeling lazy, so I also opted not to toast the pine nuts like the original recipe called for. It's your choice. The result still tastes great!

What I love about this recipe is that I don't have to worry about changing the proportions or adding more or less of any ingredient. This pesto is so forgiving! Well, I guess any pesto could be forgiving, but this is the best recipe, for obvious reasons.